Check the Prerequisites
Your Lab Environment
In this lab you work in a pre-configured lab environment. You will have access to the following hosts:
| Role | Inventory name |
|---|---|
| Ansible Control Host | ansible |
| Managed Host 1 | node1 |
| Managed Host 2 | node2 |
| Managed Host 3 | node3 |
The lab environments in this session have a <LABID> and are separated by numbered student<N> accounts. Follow the instructions given by the lab facilitators to receive the values for student<N> and <LABID>!
On the lab landing page you’ll find the URLs you need to access complete with student number and lab ID already filled in.
Accessing your Lab Environment
Your main points of contact with the lab is code-server, providing a VSCode-experience in your browser.
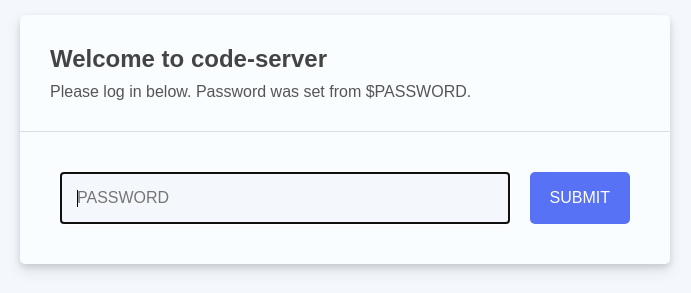
Now open code-server using the VS Code access link from the lab landing page or use this link in your browser by replacing <N> by your student number and the <LABID>:
https://student<N>-code.<LABID>.open.redhat.com

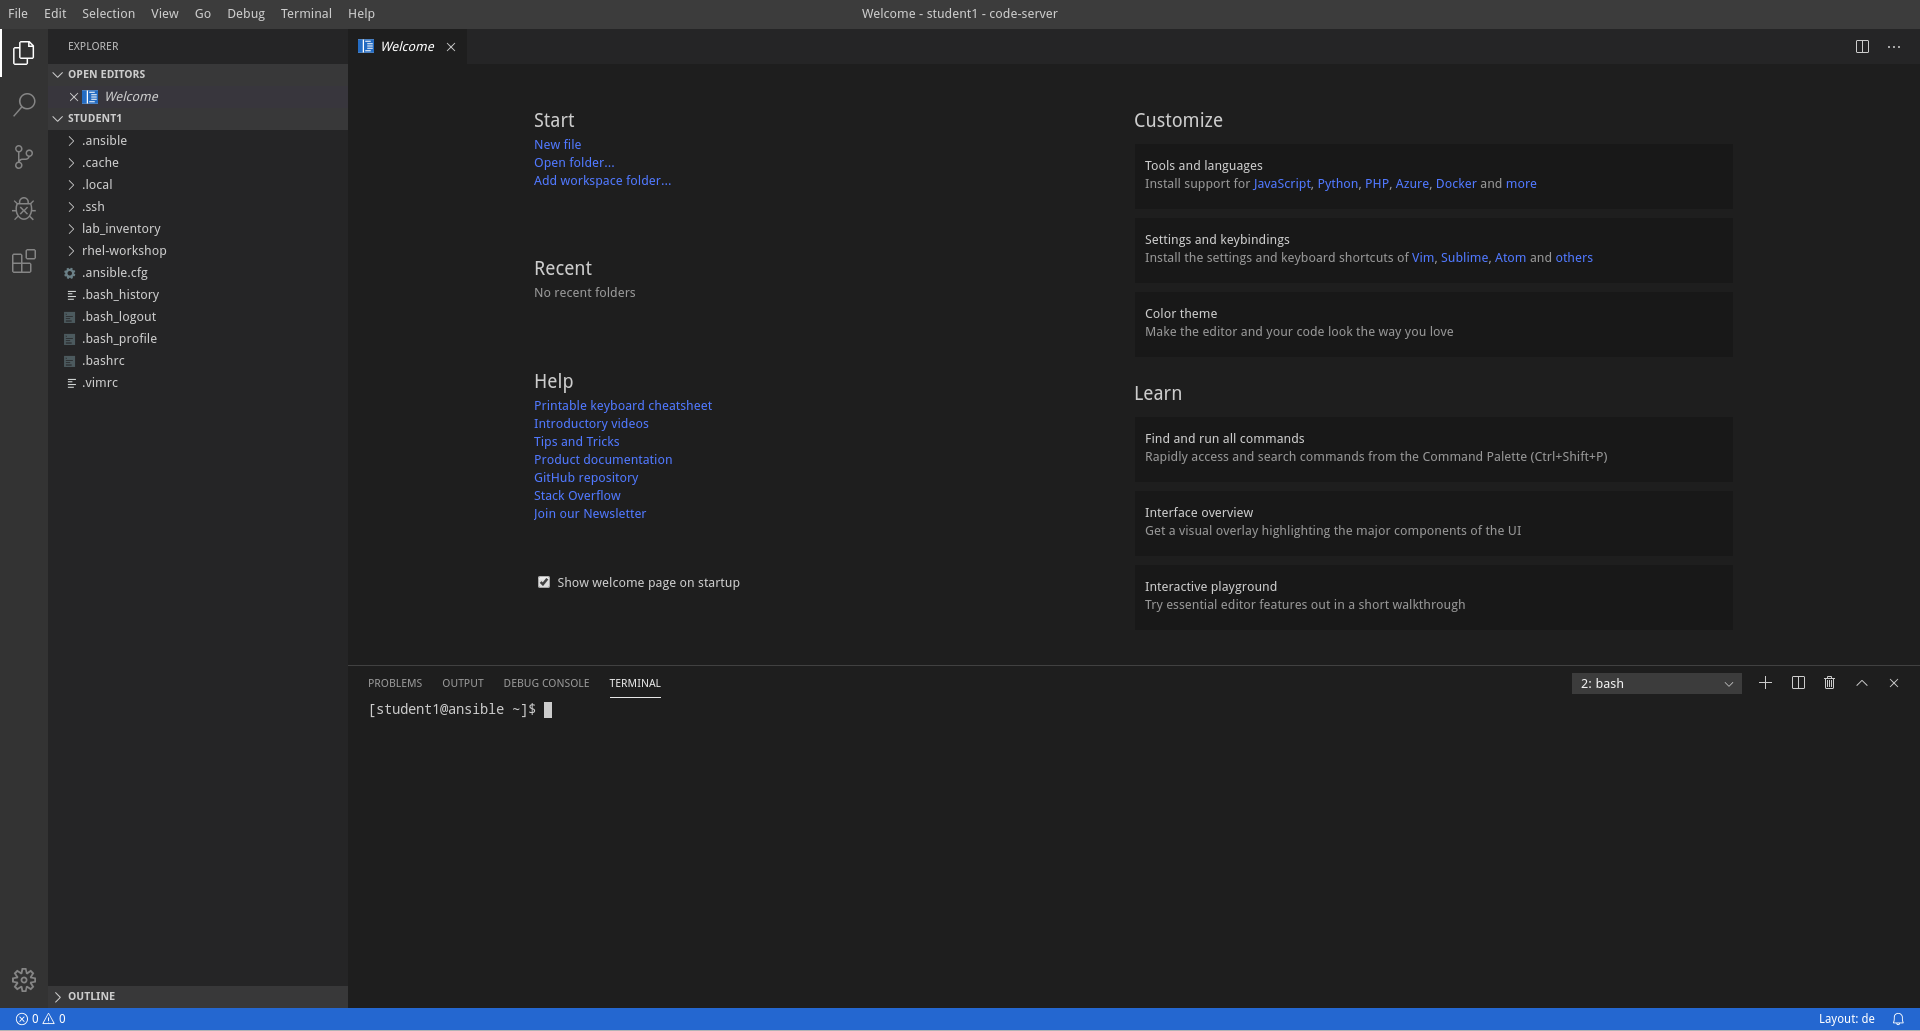
Use the password provided on the lab landing page to login into the code-server web UI, you can close the Welcome tab. Now open a new terminal by heading to the menu item Terminal at the top of the page and select New Terminal. A new section will appear in the lower half of the screen and you will be greeted with a prompt:

If unsure how to use code-server, read the Visual Studio Code Server introduction, to learn more about how to create and edit files, and to work with the Terminal.
Congrats, you now have a shell terminal on your Ansible control node. From here you run commands or access the other hosts in your lab environment if the lab task requires it.
Now in the terminal become root:
[student@ansible-1 ~]$ sudo -i
Most prerequisite tasks have already been done for you:
-
Ansible software is installed
-
sudohas been configured on the managed hosts to run commands that require root privileges.
Check Ansible has been installed correctly (your actual Ansible version might differ):
[root@ansible-1 ~]# ansible --version
ansible 2.9.6
[...]
Ansible is keeping configuration management simple. Ansible requires no database or running daemons and can run easily on a laptop. On the managed hosts it needs no running agent.
Log out of the root account again:
[root@ansible-1 ~]# exit
logout
In all subsequent exercises you should work as the student<N> user on the control node if not explicitly told differently.
Working the Labs
You might have guessed by now this lab is pretty command line-centric… :-)
Don’t type everything manually, use copy & paste from the browser when appropriate. But do still take time to think and understand.
In the lab guide commands you are supposed to run are shown with or without the expected output, whatever makes more sense in the context.
Challenge Labs
You will soon discover that many chapters in this lab guide come with a “Challenge Lab” section. These labs are meant to give you a small task to solve using what you have learned so far. The solution of a challenge task is shown beneath the task in a fold-out.